by Janet McMahon | Sep 6, 2025 | Recipes
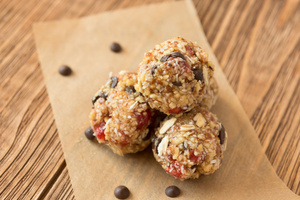
Healthy lunchbox snacks that require no baking
Ingredients:
- 1 cup old-fashioned oats
- 1/2 cup peanut butter (or almond butter)
- 1/3 cup honey
- 1/4 cup pumpkin puree
- 1/4 cup mini chocolate chips
- 2 tbsp ground flaxseed (optional)
- 1 tsp vanilla extract
- 1/2 tsp cinnamon
- Pinch of salt
Instructions:
- Mix all ingredients in a large bowl until well combined.
- Refrigerate mixture for 30 minutes (makes rolling easier).
- Roll into 1-inch balls using your hands.
- Store in refrigerator for up to one week.
- Pack 2-3 in lunchboxes for a protein-rich snack.
These are perfect for busy families and can be made ahead of time!
Bonus Staging Tip
When preparing any of these recipes before a showing, remember that the aroma of baking or cooking can create positive emotional connections with potential buyers. The smell of cinnamon and vanilla, in particular, suggests warmth and comfort – exactly what you want buyers to feel when touring your home.
Keep portions reasonable and consider packaging extras as small gifts for your real estate agent or potential buyers – it’s a memorable touch that helps your home stand out in their minds!
by Janet McMahon | Aug 26, 2025 | Recipes
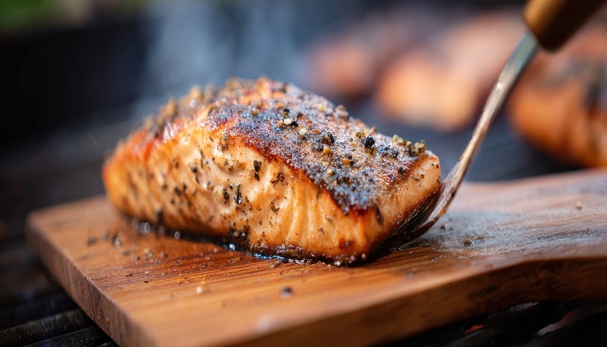
Infused with smoky wood flavor and topped with a bright, herby finish
Nothing says summer like grilling, and this cedar-plank salmon is a showstopper. It’s easy to prepare, packed with flavor, and makes a beautiful centerpiece for any backyard gathering whether you’re celebrating a new home or just enjoying the season.
Ingredients
For the salmon:
- 1 large cedar plank (soaked in water for at least 1 hour)
- 1 side of salmon (about 2 lbs), skin-on
- 2 tablespoons olive oil
- Salt and freshly ground black pepper
- 1 lemon, thinly sliced
For the lemon-dill butter:
- 4 tablespoons unsalted butter, softened
- 1 tablespoon fresh dill, finely chopped
- Zest of 1 lemon
- 1 teaspoon lemon juice
- Pinch of salt
Instructions
- Prep the grill
Preheat your grill to medium heat (about 375°F). If using charcoal, set up for indirect grilling.
- Make the lemon-dill butter
In a small bowl, mix the softened butter with dill, lemon zest, lemon juice, and a pinch of salt. Set aside or refrigerate until ready to use.
- Prepare the salmon
Pat the salmon dry and place it skin-side down on the soaked cedar plank. Drizzle with olive oil, season with salt and pepper, and top with lemon slices.
- Grill the salmon
Place the plank directly on the grill grates. Close the lid and cook for 15–20 minutes, or until the salmon flakes easily with a fork and reaches an internal temperature of 125–130°F for medium.
- Finish and serve
Remove the plank from the grill carefully. Top the hot salmon with dollops of lemon-dill butter and let it melt over the fish. Serve directly from the plank for a rustic, crowd-pleasing presentation.
by Janet McMahon | Jun 14, 2025 | Recipes
Prep Time: 5 minutes | Cook Time: 20 minutes | Total Time: 25 minutes
Servings: 4 | Calories: 336 per serving
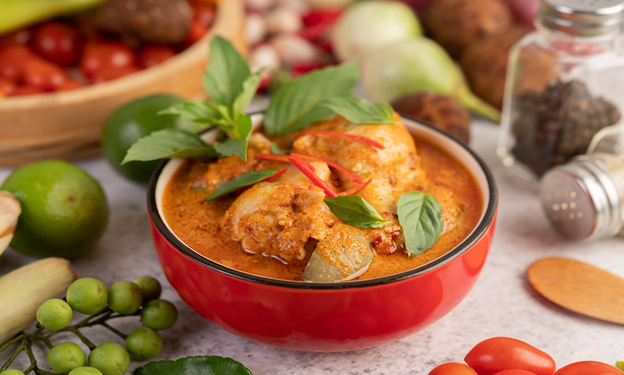
This quick and flavorful Instant Pot Butter Chicken recipe is a must-try for busy weeknights. With a rich, aromatic sauce and tender chicken, it’s the perfect comfort food, made even easier with the Instant Pot. Plus, it’s versatile enough for those following keto or dairy-free diets.
Ingredients:
* 1 (14-ounce) can of tomatoes
* 5-6 garlic cloves, minced
* 1-2 teaspoons minced ginger
* 1 teaspoon turmeric
* 1/2 teaspoon cayenne pepper
* 1 teaspoon smoked paprika
* 1 teaspoon kosher salt
* 1 teaspoon garam masala
* 1 teaspoon ground cumin
* 1 lb boneless, skinless chicken thighs (or breasts, bone-in, or any other cut of your choice; if frozen, add 1-2 extra minutes to the cook time)
* For finishing:
* 4 oz butter (cut into cubes) or coconut oil for a dairy-free version
* 4 oz heavy cream (or full-fat coconut milk for dairy-free)
* 1 teaspoon garam masala
* 1/4-1/2 cup chopped cilantro
Instructions:
- Prepare the Instant Pot:
Add all ingredients (except butter, cream, and 1 teaspoon of garam masala) into the Instant Pot. Stir well to combine the sauce before placing the chicken on top. If using frozen chicken, push it slightly into the sauce to help it defrost faster.
- Pressure Cook:
Close the Instant Pot lid, set it to high pressure for 10 minutes, and let the pressure release naturally for 10 minutes once cooking is complete. After that, carefully release any remaining pressure.
- Blend the Sauce:
Open the Instant Pot, remove the chicken, and set it aside. Use an immersion blender to blend the sauce until smooth and well combined.
- Finish the Sauce:
Add the cubed butter, cream, cilantro, and garam masala to the sauce. Stir until the butter melts and everything is well incorporated. It’s important to let the sauce cool slightly before adding the butter and cream to avoid thinning the sauce. If the sauce becomes too thin, simply refrigerate it for a bit to thicken.
- Store Extra Sauce:
At this point, you can remove half of the sauce and freeze it for later use, or store it in the fridge for 2-3 days.
- Serve:
Return the chicken to the sauce and heat through. If desired, break the chicken into smaller pieces (but don’t shred it). Serve over rice or zucchini noodles for a low-carb option.
Enjoy a comforting, rich meal with minimal effort and maximum flavor!
This recipe combines the ease of the Instant Pot with the bold flavors of traditional Indian butter chicken, making it a great addition to your weeknight dinner rotation. Whether you’re serving it to guests or enjoying a quiet night in, this dish is sure to impress!
by Janet McMahon | May 29, 2025 | Recipes
Photo by Joshua Flores on Unsplash
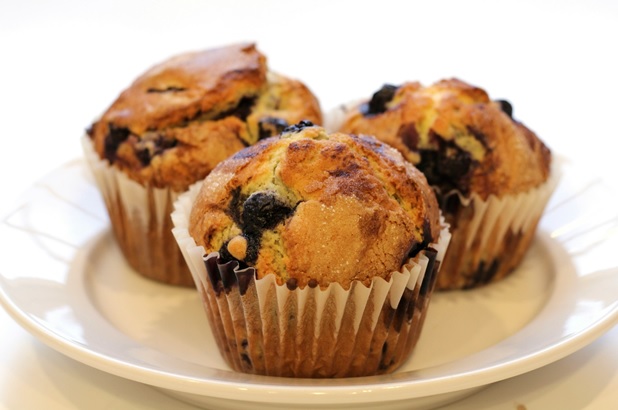
Even though the ingredients in these Jordan Marsh Blueberry Muffins might seem pretty basic, their big berry flavor can really take you back in time.
These muffins are packed with so many berries that they can turn the batter a light lavender color, and the sugary topping adds a nice crunch. They’re an old-school department store favorite for a reason!
Ingredients
– 1/2 cup butter
– 2 cups unsifted flour
– 1 cup sugar
– 2 large eggs
– 1/2 cup milk
– 2 teaspoons baking powder
– 1/2 teaspoon salt
– 2-1/2 cups large fresh blueberries
– 1-1/2 teaspoons vanilla extract
– 2 tablespoons sugar (for the top of the muffins)
Instructions
- Preheat your oven to 375°F.
- In a large mixing bowl, cream together the butter and sugar until light and fluffy. Add the eggs one at a time, beating after each addition.
- In another bowl, combine all the dry ingredients. You can use an electric mixer to make sure they’re thoroughly combined so you won’t need to overmix later.
- Gradually add the dry ingredients to the butter and sugar mixture, along with the milk and vanilla.
- Mash 1/2 cup of the blueberries and stir them in by hand to give the batter a light blue color and extra blueberry flavor. Then, gently stir in the remaining whole berries by hand.
- Spray a 12-muffin baking pan with non-stick spray. Fill the greased muffin cups with the batter.
- Sprinkle sugar on top of the unbaked muffins.
- Bake at 375°F for 25-30 minutes. Let them cool in the pan. After a few minutes, run a knife around the edge of each muffin to free it from the pan, then let cool. Because of the mashed berries these muffins will fall apart if removed from the muffin pan too early. Move to wire racks when firm. If you want, you can brush the muffins with melted butter and sprinkle them with more sugar.
Enjoy baking and eating these delicious muffins!
by Janet McMahon | Feb 28, 2025 | Recipes
Image by Jill Wellington from Pixabay
Ingredients
For the Pie Crust:
- 2 1/2 cups all-purpose flour
- 1 teaspoon salt
- 1 teaspoon granulated sugar
- 1 cup (2 sticks) unsalted butter, chilled and cut into small cubes
- 1/4 to 1/2 cup ice water
For the Cherry Filling:
- 4 cups fresh or frozen pitted cherries
- 1 cup granulated sugar
- 1/4 cup cornstarch
- 1 tablespoon lemon juice
- 1 teaspoon vanilla extract
- 1/4 teaspoon almond extract (optional)
- 1 tablespoon unsalted butter, cut into small pieces
For the Egg Wash:
- 1 egg, beaten
- 1 tablespoon milk
Instructions
- Prepare the Pie Crust:
- In a large bowl, whisk together the flour, salt, and sugar.
- Add the chilled butter cubes and use a pastry cutter or your fingers to cut the butter into the flour mixture until it resembles coarse crumbs.
- Gradually add the ice water, one tablespoon at a time, mixing until the dough comes together. Be careful not to overwork the dough.
- Divide the dough into two equal portions, shape each into a disk, wrap in plastic wrap, and refrigerate for at least 1 hour.
- Make the Cherry Filling:
- In a large bowl, combine the cherries, sugar, cornstarch, lemon juice, vanilla extract, and almond extract (if using). Mix well to coat the cherries evenly.
- Let the mixture sit for about 15 minutes to allow the flavors to meld.
- Assemble the Pie:
- Preheat your oven to 425°F (220°C).
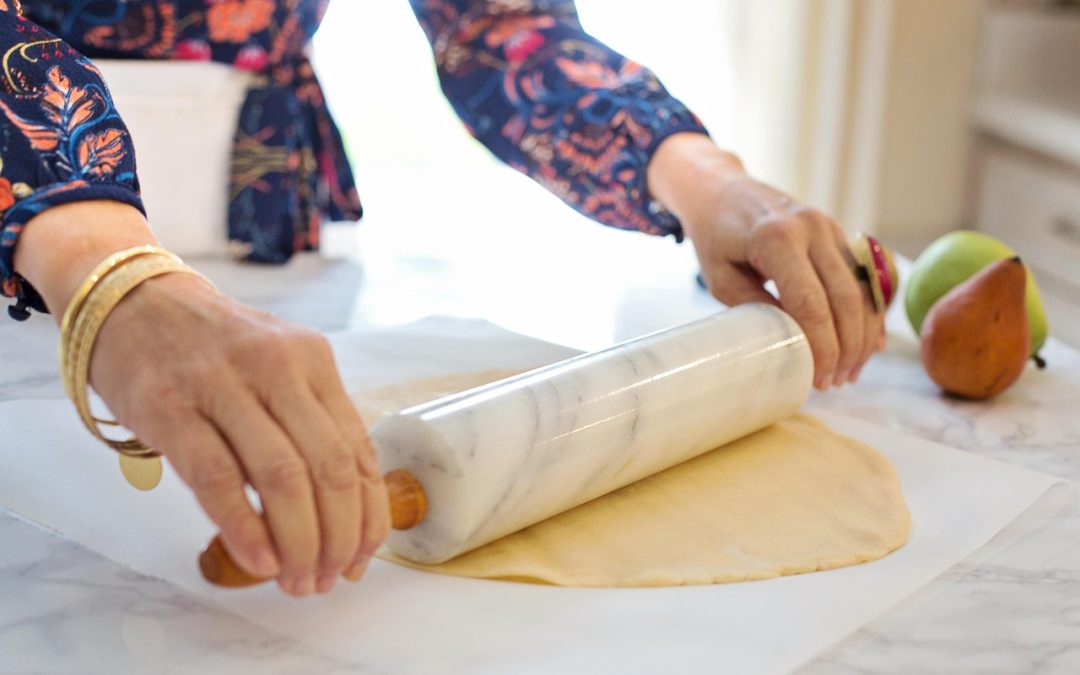
- On a lightly floured surface, roll out one of the dough disks into a 12-inch circle. Carefully transfer it to a 9-inch pie dish, pressing it gently into the bottom and sides.
- Pour the cherry filling into the pie crust, spreading it evenly. Dot the filling with the small pieces of butter.
- Roll out the second dough disk into a 12-inch circle. You can either place it whole over the filling or cut it into strips to create a lattice top.
- If using a whole top crust, cut a few slits in the center to allow steam to escape. If making a lattice top, weave the strips over the filling.
- Trim any excess dough from the edges and crimp the edges to seal.
- Apply the Egg Wash:
- In a small bowl, whisk together the beaten egg and milk. Brush the egg wash over the top crust to give it a golden, shiny finish.
- Bake the Pie:
- Place the pie on a baking sheet to catch any drips and bake in the preheated oven for 20 minutes.
- Reduce the oven temperature to 375°F (190°C) and continue baking for an additional 40-50 minutes, or until the crust is golden brown and the filling is bubbly.
- If the edges of the crust start to brown too quickly, cover them with aluminum foil to prevent burning.
- Cool and Serve:
- Remove the pie from the oven and let it cool on a wire rack for at least 2 hours before serving. This allows the filling to set.
- Serve the cherry pie warm or at room temperature, with a scoop of vanilla ice cream or a dollop of whipped cream if desired.
Enjoy your homemade cherry pie! If you have any questions or need further tips, feel free to ask!
by Janet McMahon | Jan 9, 2025 | Recipes
Photo by amirali mirhashemian on Unsplash
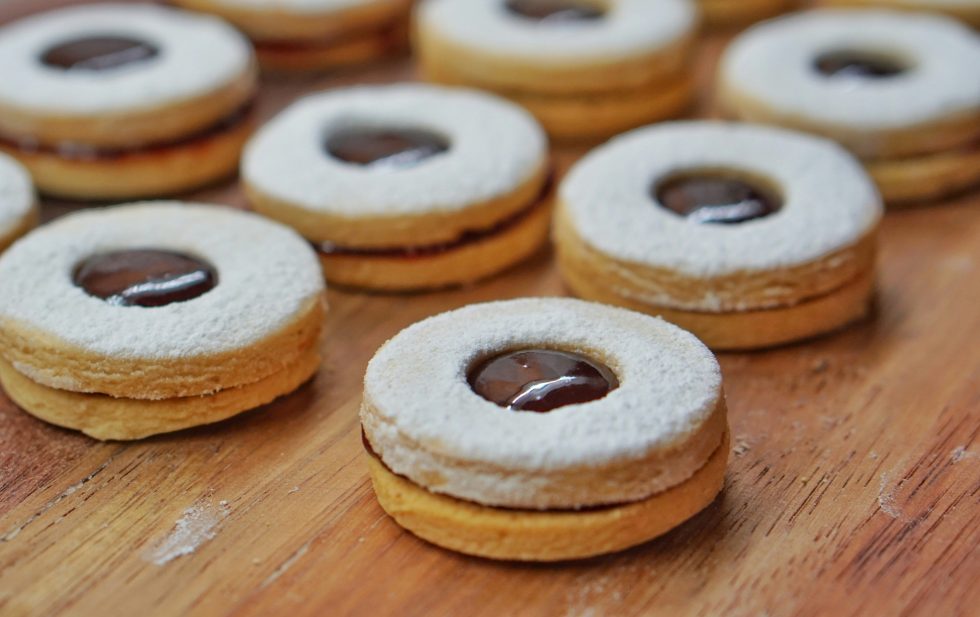
These delightful Linzer cookies are soft and sweet, featuring a raspberry jam center, a dusting of powdered sugar, and tender almond-flavored cut-out cookies. Perfect for any occasion, they make 25 sandwich cookies (50 halves).
Ingredients
For the Linzer Cookies:
- 1 cup unsalted butter, softened at room temperature for 10 minutes
- 1 cup granulated sugar
- 1/4 teaspoon salt
- 2 large eggs
- 1 teaspoon vanilla extract
- 1/4 teaspoon almond extract
- 3 cups all-purpose flour
- 1-2 cups raspberry or strawberry jam
- 1 cup powdered sugar (for sprinkling on top)
Equipment:
- Linzer cookie cutters, or a small heart-shaped cutter with a circle cutter
Instructions
- Prepare the Dough:
- In the bowl of a stand mixer fitted with a paddle attachment, cream together the butter, sugar, and salt until light and fluffy.
- Add the eggs and vanilla extract, mixing until thoroughly combined.
- Reduce the mixer speed to low and gradually add the flour, mixing until just combined. Be careful not to overmix.
- Roll Out the Dough:
- Transfer the dough onto a sheet of parchment paper. Place another sheet of parchment paper on top and use a rolling pin to flatten the dough to about 1/8 inch thick.
- Place the flattened dough on a cookie sheet and refrigerate for 20 minutes until firm.
- Preheat the Oven:
- Preheat your oven to 350°F (175°C) and line a cookie sheet with parchment paper.
- Cut Out the Cookies:
- Use the Linzer cookie cutters to cut out half the cookies with a plain cutter and the other half with a heart-shaped cut-out in the center. Alternatively, use the bottom of a small glass for half the cookies and a heart cutter for the other half.
- Arrange the cut-out cookies on the prepared cookie sheet.
- Chill and Bake:
- Place the cookie sheet in the freezer for 3-5 minutes to firm up the dough.
- Bake the cookies for 8-10 minutes, keeping an eye on them to ensure the edges do not brown. Allow the cookies to cool on a wire rack.
- Assemble the Cookies:
- Dust the heart cut-out cookies with powdered sugar.
- Spread a layer of raspberry or strawberry jam on the plain cookies.
- Sandwich the cookies together, placing the powdered sugar-dusted heart cookies on top.
- Storage:
- Store the assembled cookies in an airtight container in the refrigerator for up to a week to maintain the best taste and texture.
Enjoy your delicious Linzer cookies! If you have any questions or need further tips, feel free to ask.